the saga of rooting a flip phone
I have always loved retro tech, which shouldn't really be a surprise given my love for indie web, blogging and generally all things Y2K. I have stickers over most of my tech or tech cases, my personal computer is even lovingly referred to as the Catitude because I covered it in cat stickers, much to the chagrin of its former owner (my father, who believes tech should be utilitarian but was warned)
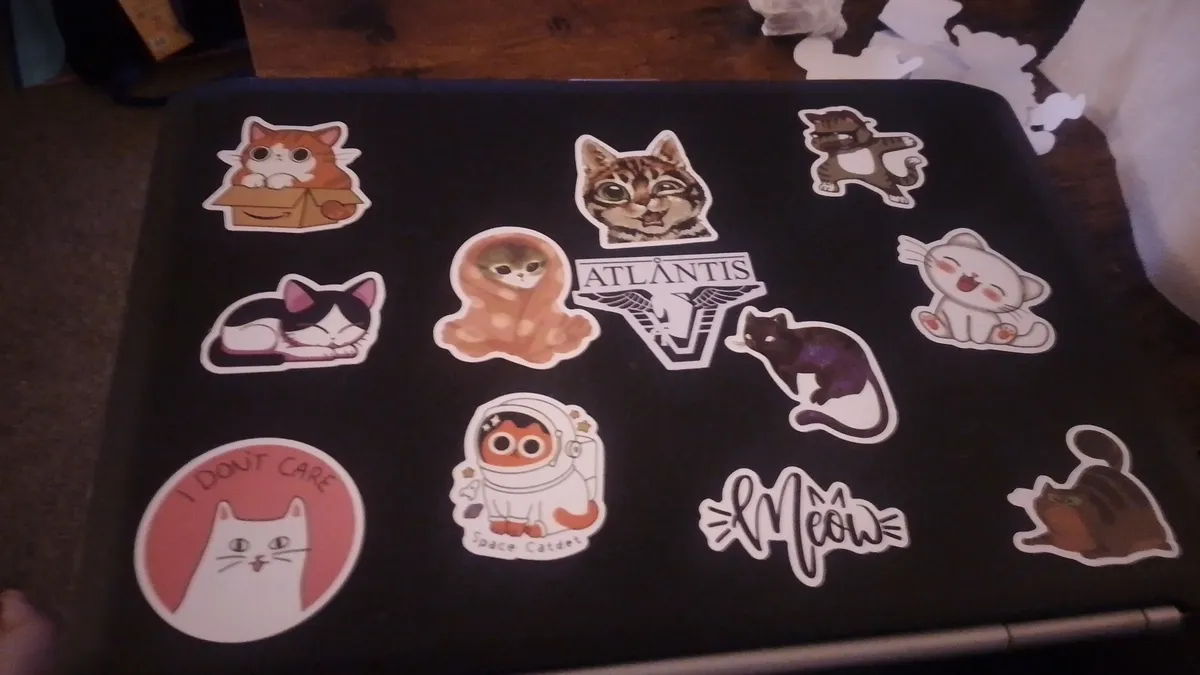
For context, it's a Dell Latitude from 2012, unsure of the exact model, but me and my dad have both modded it heavily. Again, a point in the favour of me loving retro tech.
All of this preamble to say that I always wanted a flip phone, and I was absolutely crushed when I couldn't get one when I got my first feature phone at 11. So when I was fed videos about the Samsung Galaxy Folder 2 on YouTube, I was bit by the bug and went on Y2KPhones to buy one. It was surprisingly easy, the service was great and soon, I had my very own flip phone!
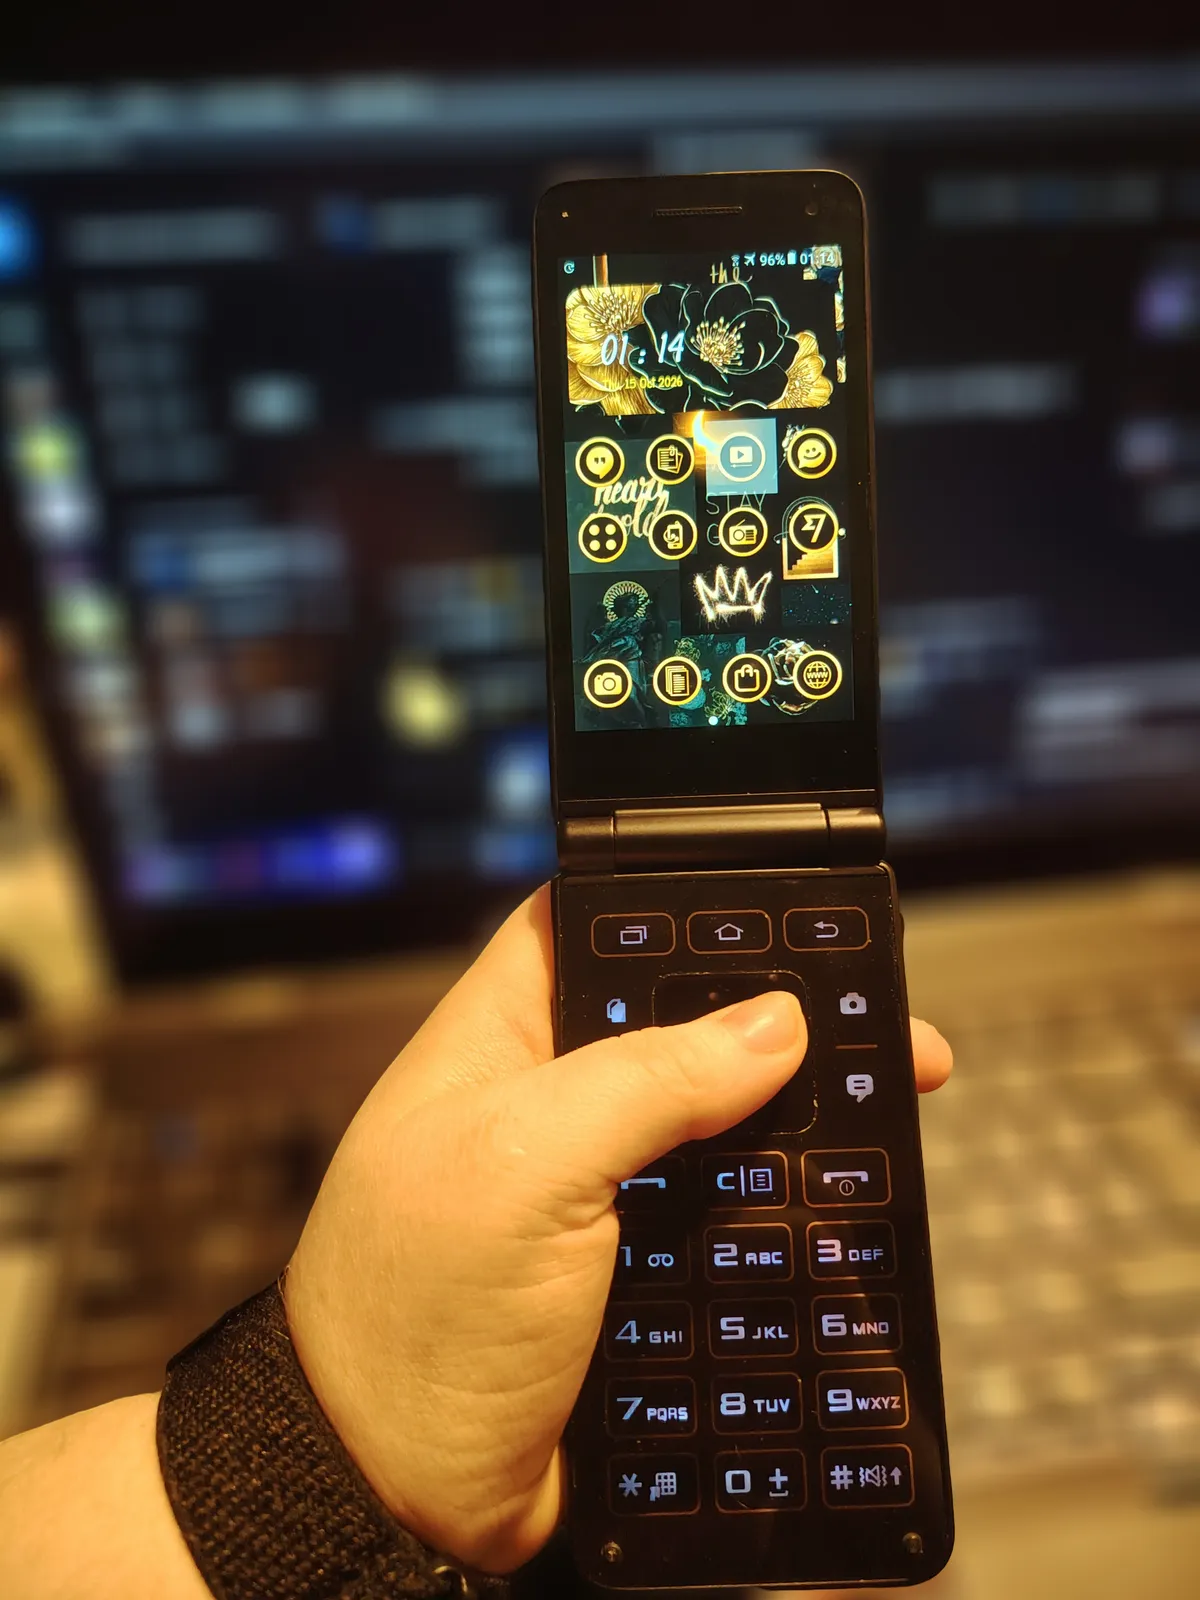
But, I really should've done more research. If I had, I would've gone with an Alt Mive Style Folder, or a Kyocera or Sharp keitai, because the Galaxy Folder 2 runs on Android 6 despite being released in 2018. So I got my new flip phone, all excited, only to not be able to run much.
But! I knew there were a few ways to get more use out of it.
Firstly, using APKMirror, I looked for older versions of the apps I wanted. Most of the apps I wanted were stuff like a music player, podcast player, some retro Android games that would benefit from the older UI and physical buttons, and Discord. Actually, it's become my new favourite device for audio playing, and playing SimpleMMO since it's text and button based.
Secondly, I went through this whole saga.
I wanted a screenshot button. Something super simple, I thought, I'd just use Key Mapper to map one of the keys to be a screenshot button. But no, it turns out you need root access to do that, which was quite the bummer! But I wanted that screenshot button so bad that I was willing to risk my data and my phone itself to get it.
When you want to root your phone, the first place you look is XDA Forums, and I found a single thread for my phone, that just so happened to cover everything I needed, all the files included. This person really saved my bacon.
I've rooted and modded and flashed countless phones, most of them having survived, so I figured with a instruction thread as detailed as this, I should be fine.
Right?
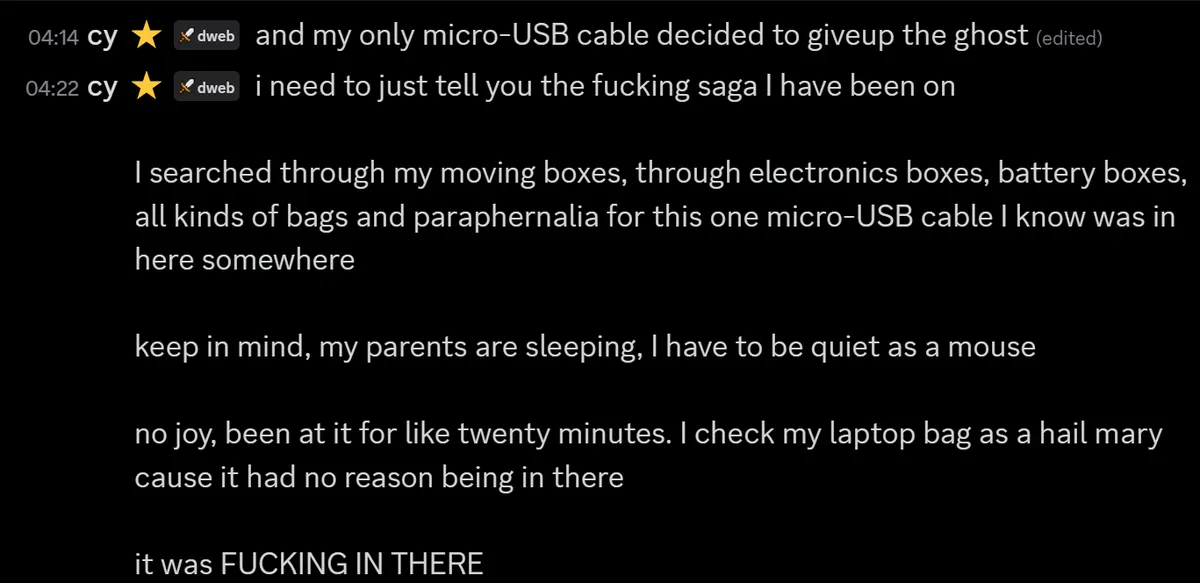
Before I could begin, I needed a micro-USB cable. I have a few of them in my tech stuff, so it seems like it'd be such a simple step, literally a non-issue. Nope. I recently moved countries and am currently renting a room from my parents as a lodger, so not only were a lot of my things still in boxes, I had to be very aware of the fact that this was a 4am impulse and my parents were both asleep. Cue me silently tearing my room apart for 20 minutes looking for a cable, first finding one that was completely broken and eventually finding a working one in my laptop bag - somewhere it really shouldn't have been.
So finally, the first step was flashing TWRP. Something I've done probably hundreds of times, so I was definitely confident going in. I was humbled so fast. The first time I opened Odin and tried to get it to work, it wouldn't recognise the phone. I did some digging and realised I missed the most obvious step when doing anything to a Samsung phone - Download Mode. No problem, I enter Download Mode, it's entirely in Korean, but that's fine, I just need to hit Start in Odin!
Custom Binary Blocked by FRP Lock.
Damn. This one stumped me for a while, since I wasn't even sure what this was. I kept digging and everything recommended I wipe the data, which I really did not want to do. As you've seen in the photo above, it's heavily customised and I was super proud of it. So I checked through multiple resources and it mentioned being 'Google locked'. I knew what that meant - the OEM bootloader was locked, which basically means you can't do anything to it until you unlock the phone to allow it.
I went into settings, turned on OEM Unlocking and finally, it flashed in roughly ten seconds. It booted into TWRP no problem, at first.
We're still in step one. I finally have the custom recovery, which allows me to install files and things to the phone itself that modify it, and as anyone who's ever modded a console will tell you, your immediate next step is to back it up. I go to back up the phone and TWRP throws errors trying to read the root data folder. This is a really common issue with Samsung phones, they lock down their phones as much as physically possible. I wanted to avoid using a microSD card with this phone because it meant opening the back and removing the battery which was a faff if I could just use ADB (communicating via my computer).
So I bit the bullet, added in a microSD card and I was able to back it up, finally. I reboot the phone to make sure I haven't bricked it, and it bootloops! Joy. Luckily, the next step was the fix for this.
The second step was installing Magisk via TWRP, to actually root the phone. I put the Magisk zip from the megathread into the microSD card and flashed it, simple as hitting 'Install', swiping to start and giving it a second to work.
Finally, something actually went right!
I check the phone again and it boots, no problem, and I'd lost no data. Awesome.
Step three was debloating. The thread recommended I use Universal Android Debloater, but I couldn't get it to recognise my phone, so I instead used a program I've used countless times to debloat phones, ADB AppControl. It takes a few tries because my microUSB cable isn't the best quality for data transfer, but I manage to debloat the GIANT list of programs the thread recommended.
I check the phone, it works and I quickly go into step four, which is installing the latest Magisk APK and directly installing Magisk through it, so root will work properly on the phone. Again, this goes smoothly, I'm feeling confident again.
Step five is to install all the Xposed stuff. The APKs both install without a problem, great, but then I have to boot into Recovery and flash Xposed via TWRP for it to properly work. It flashes, no problem, and then something in the thread catches my eye.
"If you successfully got back into your device..."
That really didn't bode well, but I'd already caused it to bootloop and I still brought it back, so I figured it wouldn't be that bad, right?
It took 30 minutes to boot. 30. Minutes. The only reason I didn't write it off is because it was stuck on the 'optimising apps' screen and the number was ticking up.
I'd already been here for two hours, including the cable search, and I'd gone too far to quit now, so I put on a movie and waited.
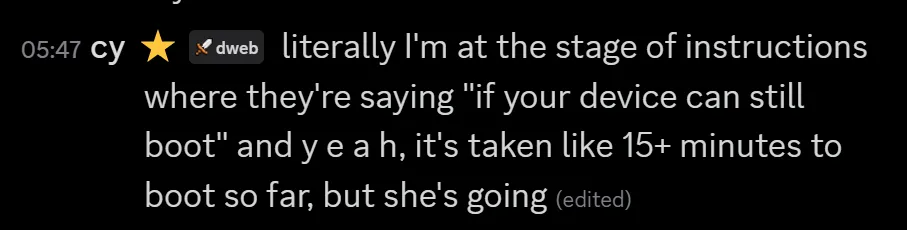
It eventually booted, and I followed the instructions, going into Xposed and checking for the green checkmark, which worked!
The final step was microG, a replacement for the Google Play Services I'd uninstalled during the debloat. The install of the Xposed module works great, no problems, but the APKs refused to install, despite being built for this particular phone.
At this point, I didn't need Google Play Services, I could use Aurora Store or APKMirror without any issues, and I'd already gotten far enough that it was rooted and had a custom recovery, so I accepted defeat.
But did the screenshot button work? Yep, perfectly! And when I regaled this tale to my partner, I didn't tell her what I was doing this for until right at the end, and the resulting crash out was absolutely valid.
Plus, I can flash a custom ROM if I can ever find one, I can use root tools to boost the lifespan of the phone and I can always fix any bootloops by flashing Magisk again (ask me how I know - always remember to check compatibility of your Magisk modules).
I hope you've enjoyed this little saga, because I certainly didn't then, though it's extremely entertaining now. Plus, I've learned some valuable skills should I ever actually get an Alt Mive Style Folder in future.
This post was last edited 1 day, 9 hours ago.